# Testing Your Setup
## Testing Studio
1. Once you are set up, you should be able to login to the Studio via Auth0's login options (Gmail, Github etc.).
- For the open source installation, the URL for Studio is [http://localhost:3000](http://localhost:3000)
- To use our hosted app, the URL for Studio is [https://app.rowboatlabs.com](https://app.rowboatlabs.com/)
2. Once in Studio, create a new blank project or browse through one of the example projects:

3. Use the copilot to help you build agents:

4. Ensure that the correct agent is set as the "start agent":

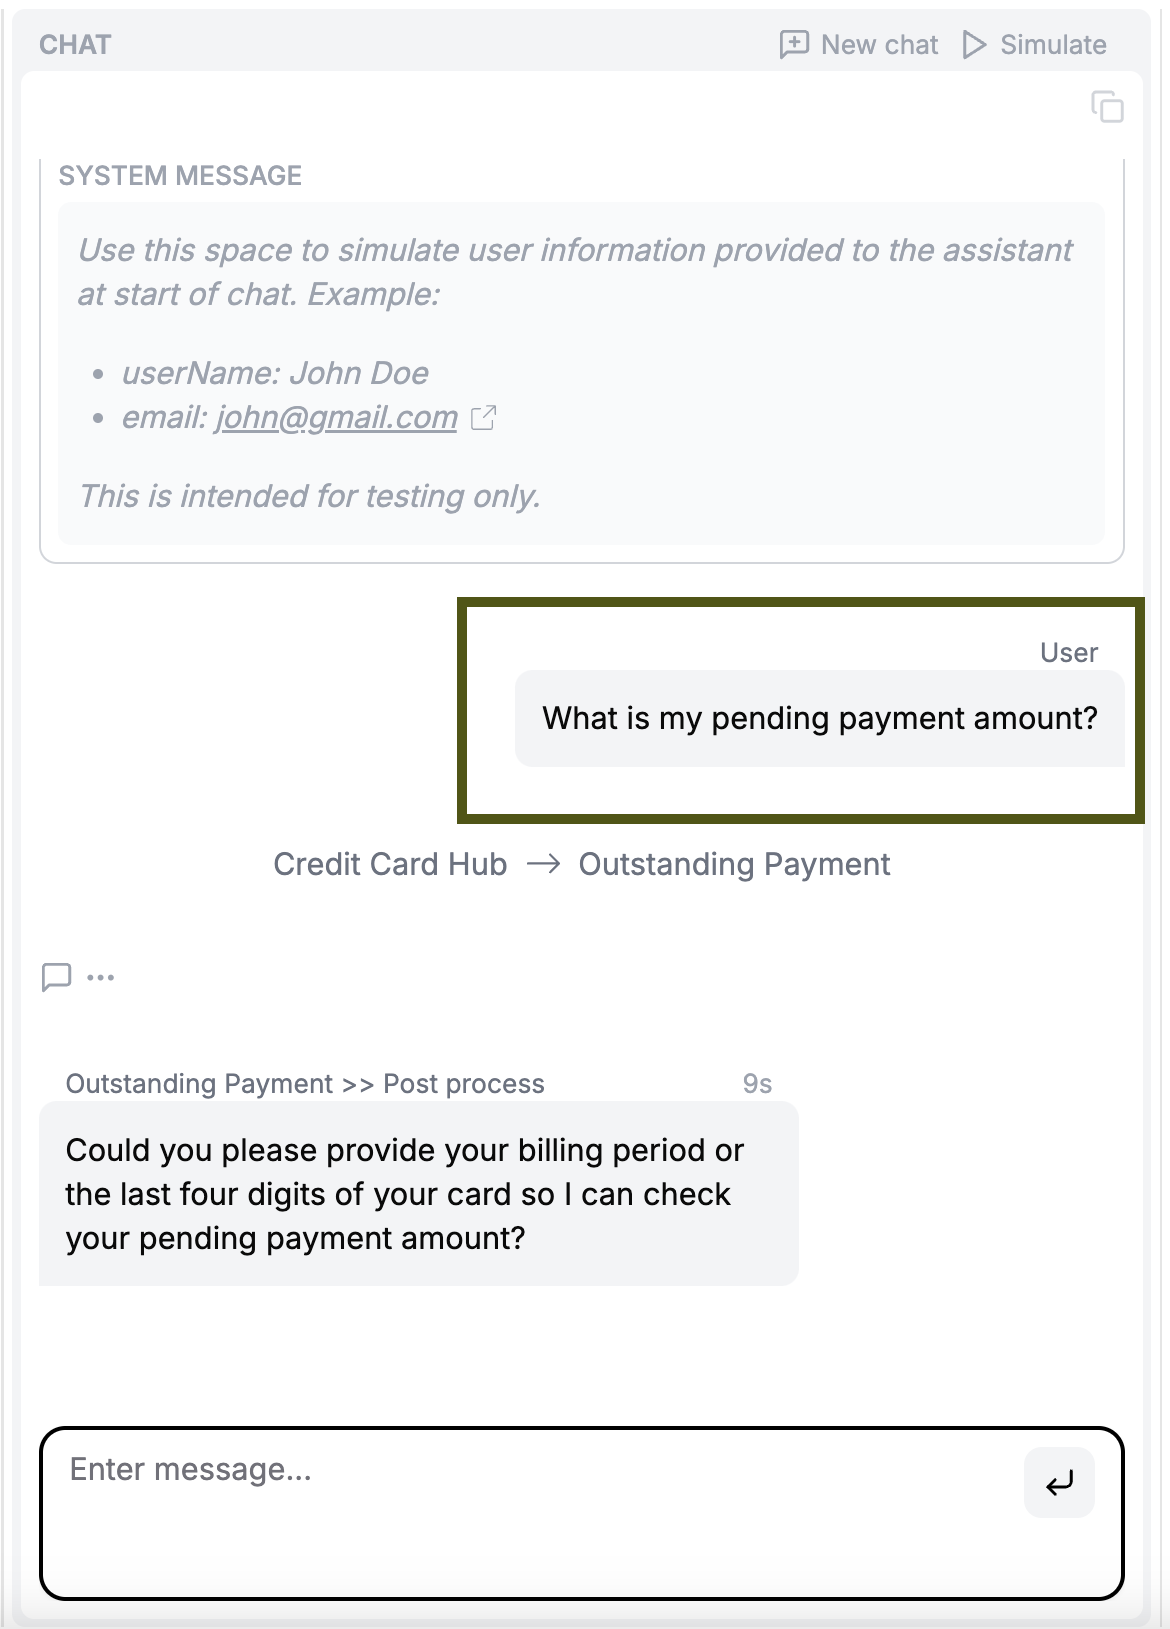
5. Test out a chat in the playground to verify the agents' behavior:
### Testing the Chat API
- For the open source installation, the `` is [http://localhost:3000](http://localhost:3000)
- When using the hosted app, the `` is [https://app.rowboatlabs.com](https://app.rowboatlabs.com)
- `` is available in the URL of the project page
- API Key can be generated from the project config page at `/projects//config`
Below is an example request and response. Modify the user message in the request, based on your example project.
**Request:**
```bash
curl --location 'http:///api/v1//chat' \
--header 'Content-Type: application/json' \
--header 'Authorization: Bearer ' \
--data '{
"messages": [
{
"role": "user",
"content": "What is my pending payment amount?"
}
]
}'
```
**Response:**
The last message in `messages` is either a user-facing response or a tool call by the assistant.
```json
{
"messages": [
{
"sender": "Credit Card Hub",
"role": "assistant",
"response_type": "internal",
"content": null,
"created_at": "2025-02-01T06:55:47.843909",
"current_turn": true,
"tool_calls": [
{
"function": {
"arguments": "{\"args\":\"\",\"kwargs\":\"\"}",
// Internal tool calls are used to transfer between agents
"name": "transfer_to_outstanding_payment"
},
"id": "call_7jGpwpVvzhZFOyRgxHFkdOdU",
"type": "function"
}
]
},
{
"tool_name": "transfer_to_outstanding_payment",
"role": "tool",
"content": "{\"assistant\": \"Outstanding Payment\"}",
"tool_call_id": "call_7jGpwpVvzhZFOyRgxHFkdOdU"
},
{
"sender": "Outstanding Payment",
"role": "assistant",
// Response is not user-facing, to enable further post processing
"response_type": "internal",
"content": "Sure, could you provide the last four digits of your card or your registered mobile number so I can look up your pending payment amount?",
"created_at": "2025-02-01T06:55:49.648008",
"current_turn": true
},
{
"sender": "Outstanding Payment >> Post process",
"role": "assistant",
// Response is user-facing
"response_type": "external",
"content": "Sure, please provide the last four digits of your card or your registered mobile number so I can check your pending payment amount.",
"created_at": "2025-02-01T06:55:49.648008",
"current_turn": true
}
],
"state": {
// .. state data
}
}
```
### Testing the Python Chat SDK
- For the open source installation, the `` is [http://localhost:3000](http://localhost:3000)
- When using the hosted app, the `` is [https://app.rowboatlabs.com](https://app.rowboatlabs.com)
- `` is available in the URL of the project page
- API Key can be generated from the project config page at `/projects//config`
```bash
pip install rowboat
```
Modify the user message in `messages`, based on your example project.
```python
from rowboat import Client
client = Client(
host="",
project_id="",
api_key="" # Generate this from /projects//config
)
# Simple chat interaction
messages = [{"role": "user", "content": "What is my pending payment amount?"}]
response_messages, state = client.chat(messages=messages)
```
The last message in `response_messages` is either a user-facing response or a tool call by the assistant.